Modification | |
| Prev | Knots and Links | Next |
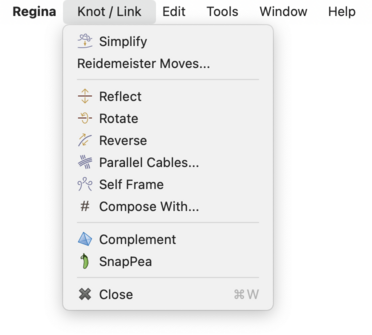
There are several options for modifying a link diagram. Many of these can be found in the menu, which appears when you open a link for viewing.
Caution
If you open one link for viewing but then select another in the packet tree, all modifications will apply to the link that you have open for viewing.
You can edit a link directly by altering its individual crossings. Regina gives you several ways do this, all of which will typically change the topology of the link:
- Changing a crossing
This involves switching the over-strand with the under-strand; in other words, passing one strand through the other.
This operation is sometimes called switching a crossing.
- Resolving a crossing
This removes the crossing entirely by chopping and splicing the over-strand and the under-strand together. Suppose the crossing originally involved strand
xpassing over strandy. After resolving the crossing, the section of the link that entered alongxwill exit alongy, and the section that entered alongywill exit alongx. This will be done in a way that preserves orientation (i.e., the directions of the arrows).This operation is sometimes called splicing a crossing.
- Making a crossing virtual
If you are familiar with virtual link diagrams, this converts a classical crossing into a virtual crossing (one that is often marked with a small circle in diagrams on the plane).
From Regina's point of view, this operation simply removes the crossing entirely, but without changing the connections between the strands. In other words, the two strands that used to pass over/under each other will now avoid each other entirely: instead the incoming and outgoing upper strands will simply merge into one, and the incoming and outgoing lower strands will likewise merge into one.
If applied to a classical link diagram, this operation will typically make the diagram virtual (since it requires adding a new handle to the surface in which the diagram embeds, which the original upper and lower strands can use to pass by one another). If applied to a virtual link diagram, it could potentially change the virtual genus, or even make the diagram classical again.
To change, resolve, or make a crossing virtual, switch to the Crossings tab, right-click on the crossing you want to modify, and choose which operation you wish to perform. (You will also see an extra option to reverse a single component.)

On computers where right-click is not supported (e.g., computers with a one-button mouse), you should use the normal secondary-click mechanism for bringing up a pop-up context menu.
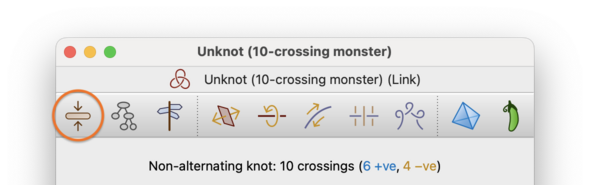
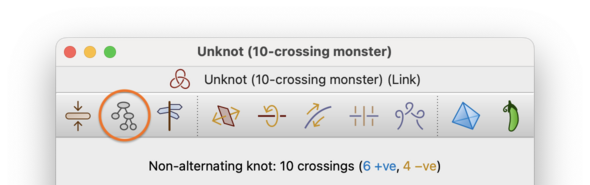
Regina offers a number of local moves (including the well-known Reidemeister moves) for modifying a link diagram without changing the underlying link. If you select → from the menu or press the corresponding toolbar button, then Regina will use a combination of these moves to reduce the link to as few crossings as it can. This procedure is always fast and works well in many scenarios, but there is no guarantee that this will produce the fewest possible crossings: Regina might get stuck at a local minimum from which it cannot see how to escape.

This fast simplification process will never reflect, rotate or reverse your link.
If Regina cannot simplify the link immediately using its fast heuristics, and if your link has fewer than 64 components, then it will offer to perform a slower, more exhaustive search. Press the Try harder button, as shown below:
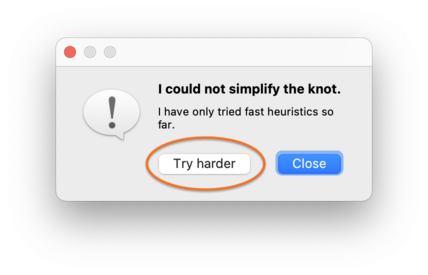
At this point, Regina will begin an exhaustive search through the Reidemeister graph (this is essentially the graph that relates all diagrams of the underlying knot through Reidemeister moves):
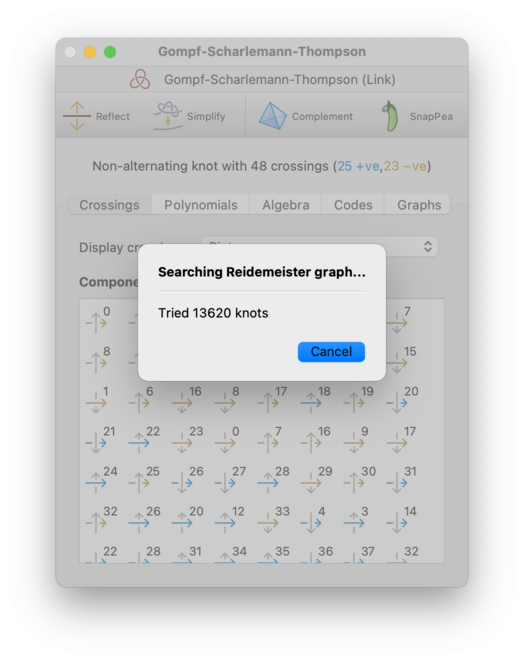
You can stop this search at any time by pressing the Cancel button.
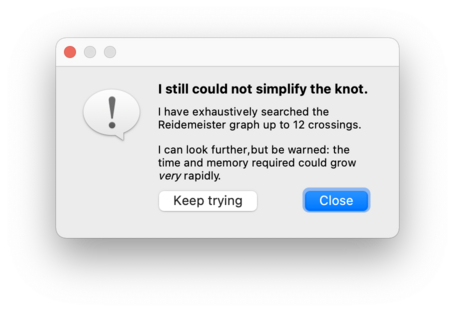
Since the Reidemeister graph is infinite, Regina will only search through intermediate knots with a certain maximum number of crossings. If this still fails, it will offer to search further, and you can press Keep trying to continue the search using larger intermediate knots than before. This cycle of ever-expanding searches will continue for as long as you like: Regina will only stop if you decline to keep searching, or you cancel a search while it is running, or it finds a smaller knot diagram than the one it began with.
As of Regina 7.4, this exhaustive simplification (like the fast simplification before it) will never reflect, rotate or reverse your link.
Warning
When searching the Reidemeister graph, both the time and memory consumption grow at a super-exponential rate relative to the number of crossings. If you continue to press Keep trying over and over, you may well run out of time or memory (or both).
Tip
If your aim is to recognise a classical knot, an alternative is to build the knot complement and then try to recognise the resulting 3-manifold instead. The 3-manifold tools in Regina are much richer, and in particular Regina's simplification of 3-manifold triangulations works extremely well in practice. For the 141-crossing Gordian unknot, building the complement will detect unknottedness immediately, since Regina is typically able to reduce the complement immediately to a one-tetrahedron solid torus.
Instead of trying to reduce the number of crossings, you can also ask Regina to try to reduce the treewidth of the link diagram. Treewidth is a measure of how tree-like the underlying 4-valent model graph is, and reducing the treewidth is important because it can significantly speed up difficult computations such as Jones and HOMFLY-PT polynomials.
To reduce the treewidth, select → from the menu or press the corresponding toolbar button.

Regina will begin to explore the Reidemeister graph in search of a smaller treewidth diagram, in a similar manner to the exhaustive simplification process described above. Like exhaustive simplification, Regina will occasionally stop and offer to expand its search; also, like exhaustive simplification, you can cancel the search at any time.
It is important to understand that Regina does not compute the precise treewidth of a link diagram (i.e., the minimum width of a tree decomposition), since this is an NP-hard problem. Instead it uses fast heuristics to find a low-width tree decomposition for a given diagram, and it is this “heuristic width” that will be reduced.
Warning
As with exhaustive simplification, both time and memory consumption grow at a super-exponential rate as the search expands. Also, as with exhaustive simplification, this operation could well reflect or rotate your link and/or reverse individual components.
Instead of using automatic simplification, you might wish to modify your link manually one step at a time. You can do this using Reidemeister moves, which are small local modifications to the link diagram that preserve the topology of the underlying link. To perform Reidemeister moves, select → from the menu or press the corresponding toolbar button.

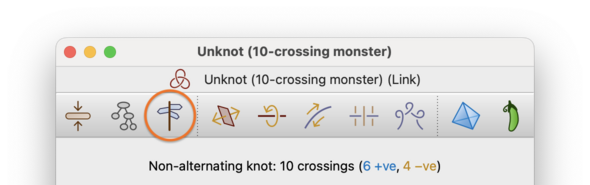
This will bring up a box containing all the Reidemeister moves that can be performed upon your link.
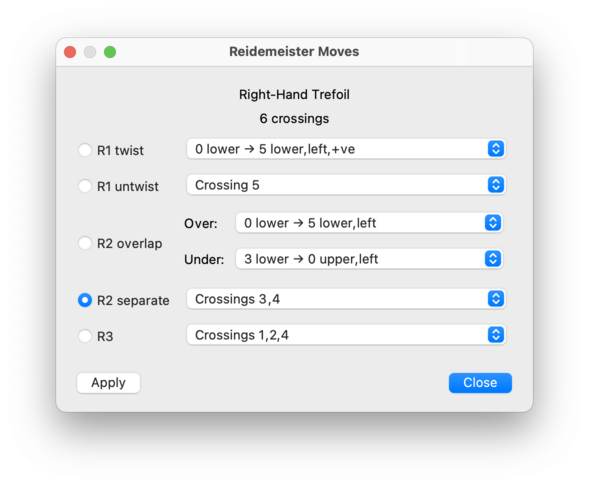
For each type of move, you will be offered a drop-down list of locations at which the move can be performed. If a move is disabled (greyed out), this means there are no suitable locations in your link for that move type.
Select a move, and then press to perform it. You may continue to apply one move after another. When you are done, press to close the Reidemeister move box.
The available moves are:
- R1 twist
Introduces a small local twist in a strand of the link. Each option in the drop-down list specifies a strand (described as an arrow between two crossings), which side of the strand to twist on (left or right, as viewed when facing the direction of the arrow), and the sign of the new crossing that will appear (positive or negative).
- R1 untwist
The opposite of an R1 twist. Each option in the drop-down list corresponds to a crossing where a local twist is found (this corresponds to the new crossing introduced by an R1 twist move).
- R2 overlap
Takes two strands that border the same cell in the link diagram, and passes one over the other. This move comes with two drop-down lists, marked Over and Under, and you need to select your strands in this order.
First, use the Over list to choose which strand will pass over the other; each option in this list specifies both the strand (as an arrow between two crossings) and in which direction it will be pushed (left or right, as viewed when facing the direction of the arrow). This will cause the Under list to be re-filled with compatible strands that can be pushed under the first, and now you can select one of these options also.
These drop-down lists do not offer virtual R2 overlap moves (which do not require the two strands to border the same cell, and which could therefore increase the virtual genus of the diagram). If you need to perform a virtual R2 overlap move, you can always use the function
Link::r2Virtual()in C++/Python.- R2 separate
The opposite of an R2 overlap. Each option in the drop-down list describes a pair of crossings that are connected by a pair of strands that can be pulled apart (these correspond to the two new crossings introduced by an R2 overlap move).
- R3
Passes a strand of the link over a nearby crossing. This move takes place around a triangular cell in the link diagram, and each option in the drop-down list corresponds to the three crossings that surround this triangle.
Regina offers some simple transformations related to orientation: each of these changes will alter the link diagram, but the knot/link signature will stay the same.
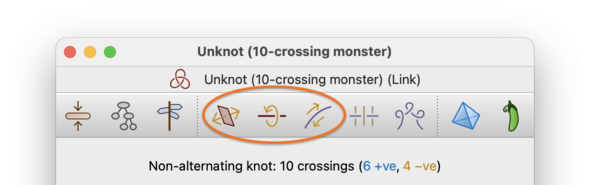
If you select → from the menu or press the corresponding toolbar button, Regina will reflect your link about an axis in the plane. Each crossing will change sign (positive becomes negative and vice versa), but over-crossings will remain over-crossings, and under-crossings will remain under-crossings.
For virtual link diagrams (which do not live in the plane), this operation effectively performs an orientation-reversing homeomorphism of the surface in which the diagram embeds. In the language of Jeremy Green's virtual knot tables, this is a horizontal mirror image.
If you select → from the menu or press the corresponding toolbar button, Regina will rotate your link about an axis in the plane (like turning a sheet of paper over so the back becomes visible). This means that over-crossings will become under-crossings and vice versa, but the sign of each crossing will remain the same.
For virtual link diagrams (which do not live in the plane), we can think of the diagram as embedded in some thickened surface
S× I. This operation effectively performs an orientation-preserving homeomorphism ofS× I that switches the two copies ofSon the boundary.Some authors refer to this operation as a flip. In the language of Jeremy Green's virtual knot tables, this is the composition of both a vertical and a horizontal mirror image.
If you select → from the menu or press the corresponding toolbar button, Regina will reverse the orientation (i.e., direction of traversal) of every component of your link. Both the sign (positive or negative) and the side (under or over) of each crossing will remain the same, but each component will walk through its crossings in reverse order.
For a link with multiple components, you can reverse an individual component by switching to the Crossings tab and right-clicking on any part of the component that you wish to reverse. On computers where right-click is not supported (e.g., computers with a one-button mouse), you should use the normal secondary-click mechanism for bringing up a pop-up context menu.
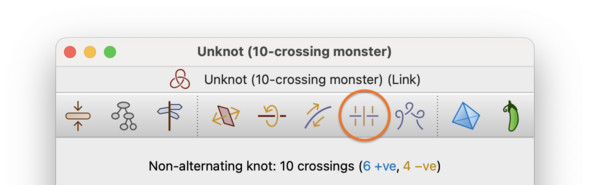
If a link diagram is non-alternating, Regina can change some of its crossings in order to make the diagram alternating. (To change a crossing means to switch the upper and lower strands.) This operation will typically change the topology of the link.
To do this, select → from the menu or press the corresponding toolbar button.

Your link diagram will be modified directly.
For classical link diagrams this operation will always succeed. For virtual link diagrams it might not be possible; if the diagram cannot be made alternating then Regina will report this and leave the diagram unchanged.
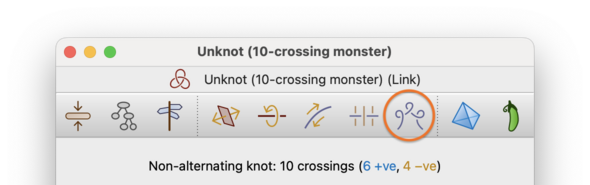
To self frame a link means to add any necessary twists (i.e., Reidemeister 1 moves) to ensure that each individual component has zero writhe.
To do this, select → from the menu or press the corresponding toolbar button.

Your link will be modified directly.
You can combine two links using the operation of
composition.
This will convert some link L
into the composite link
L # M
for some other link M
(note that
M is allowed to be the same as
L).
The composition operation will respect the orientations (i.e.,
directions of traversal) of each link.
To form this composition, first open the the link
L for editing;
this is the link that you are operating on, and it will be
modified directly.
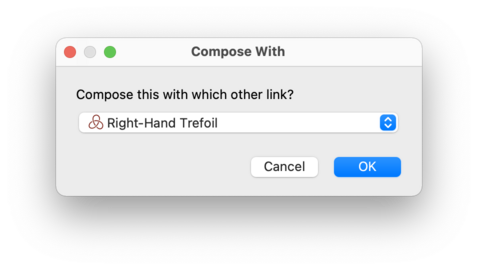
Then select
→
from the menu.

Regina will ask you which other link to compose with;
in other words, Regina will ask you for the link
M.
This second link M will be
left unchanged (unless of course you have chosen to compose
L with itself, which is perfectly legal
and will work as expected).
The link L will be changed directly
into the resulting composite link.
If you need control over the specific arcs in each link where the
composition takes place (which matters with virtual links, for example),
you will need to use the function Link::graft()
in C++/Python.
You can also combine two links using a
disjoint union.
This will convert some link L
into the split link
L U M
for some other link M
(note that
M is allowed to be the same as
L).
Essentially, this modifies L by placing a copy
of M beside it.
As with composition, the disjoint union will respect the orientations
(i.e., directions of traversal) of each link.
To form this union, first open the the link
L for editing;
this is the link that you are operating on, and it will be
modified directly.
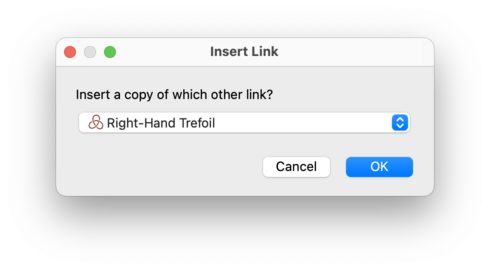
Then select
→
from the menu.

Regina will ask you which other link to insert;
in other words, Regina will ask you for the link
M.
This second link M will be
left unchanged (unless you have chosen to insert
L into itself, which is again legal
and will work as expected).
The link L will be changed directly
into the disjoint union
L U M.
| Prev | Contents | Next |
| Analysis | Up | Importing and Exporting Data |